To use a WebDAV server hosted directly by Zotero, simply link a persistent storage location and authentication credentials to a WebDAV container, make it publicly accessible via an HTTPS domain, and then run “Server Verification” in Zotero. I deployed hacdias/webdav to Coolify, a spare OCI instance I had available.
First, let’s clearly define the scope.
| Synchronization Target | Responsible Service |
|---|---|
| Bibliographic entries, collections, tags, notes | Zotero Data Sync |
| Attachments (PDFs, images, etc.) in personal libraries | The WebDAV server described in this post |
| Group library attachments | Supported only by Zotero Storage |
WebDAV does not replace the entire Zotero account. According to the official documentation, WebDAV is used only for syncing attachments in personal libraries and cannot be used for group libraries.
Why I Set It Up Myself
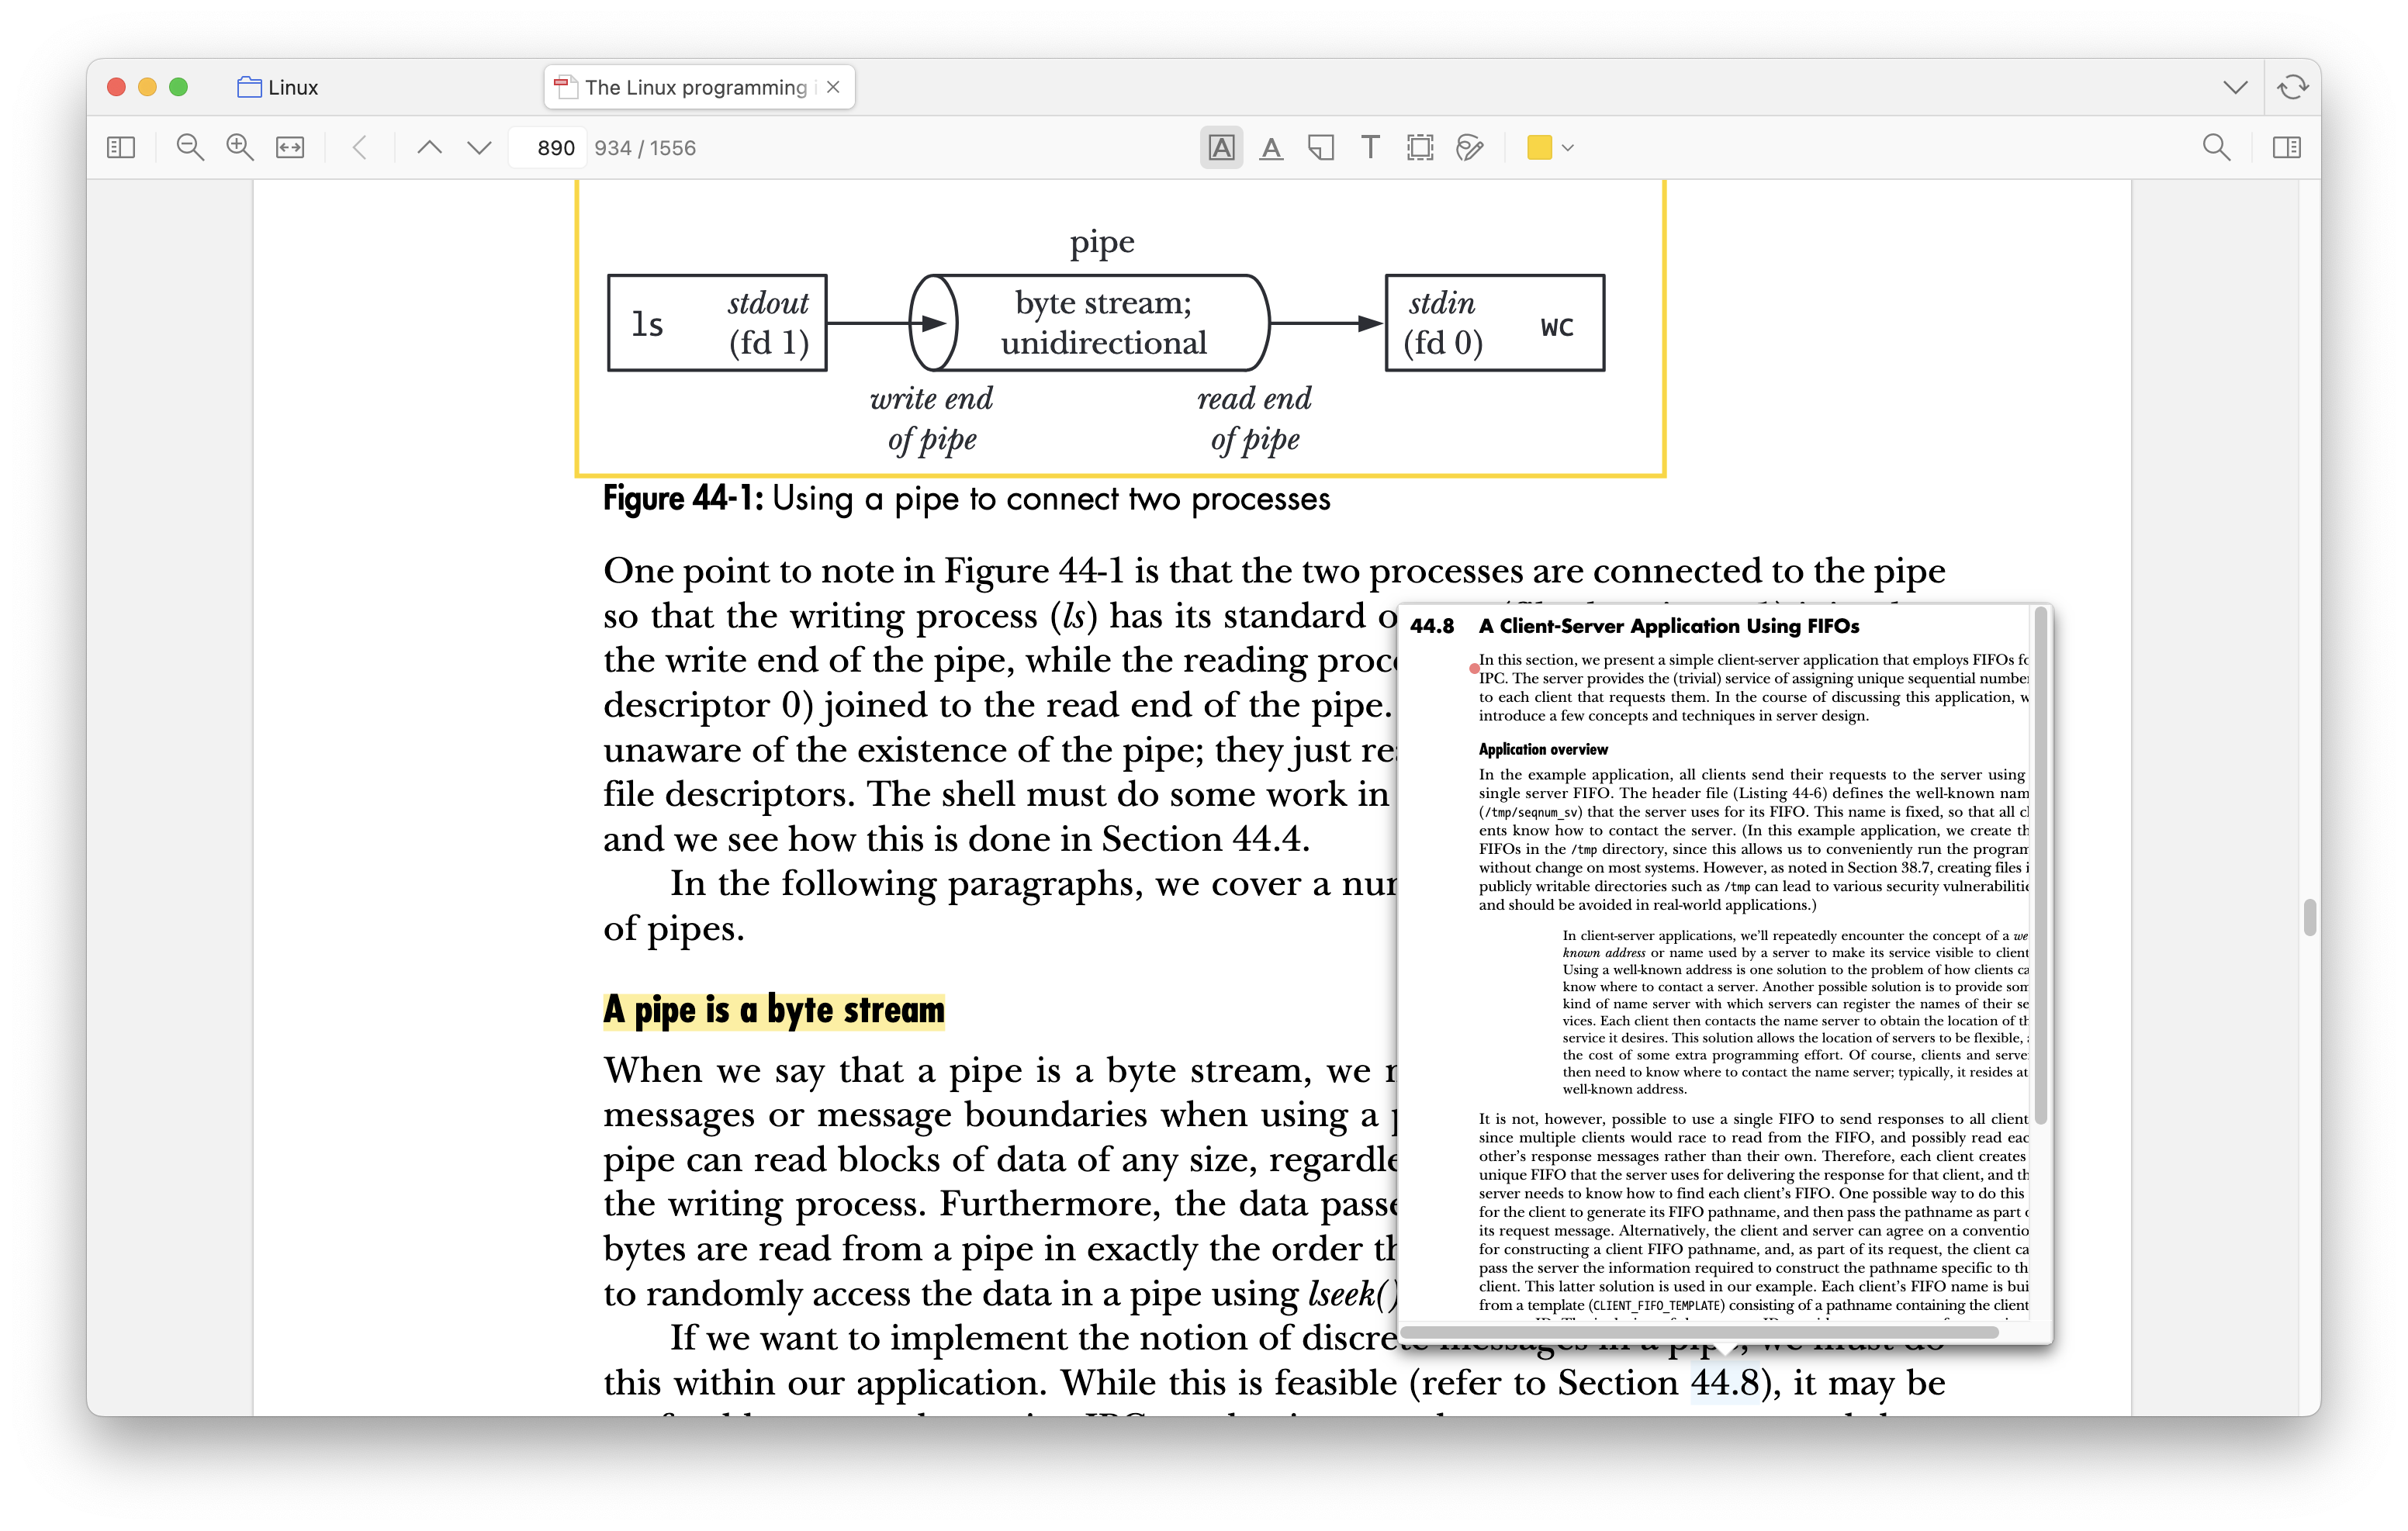
I wanted to read PDFs in Zotero, add highlights and notes, and then continue viewing the same attachments on my iPad and MacBook.
Zotero Storage is the simplest option and offers good compatibility, but if you exceed the free attachment quota, you’ll need a paid plan.
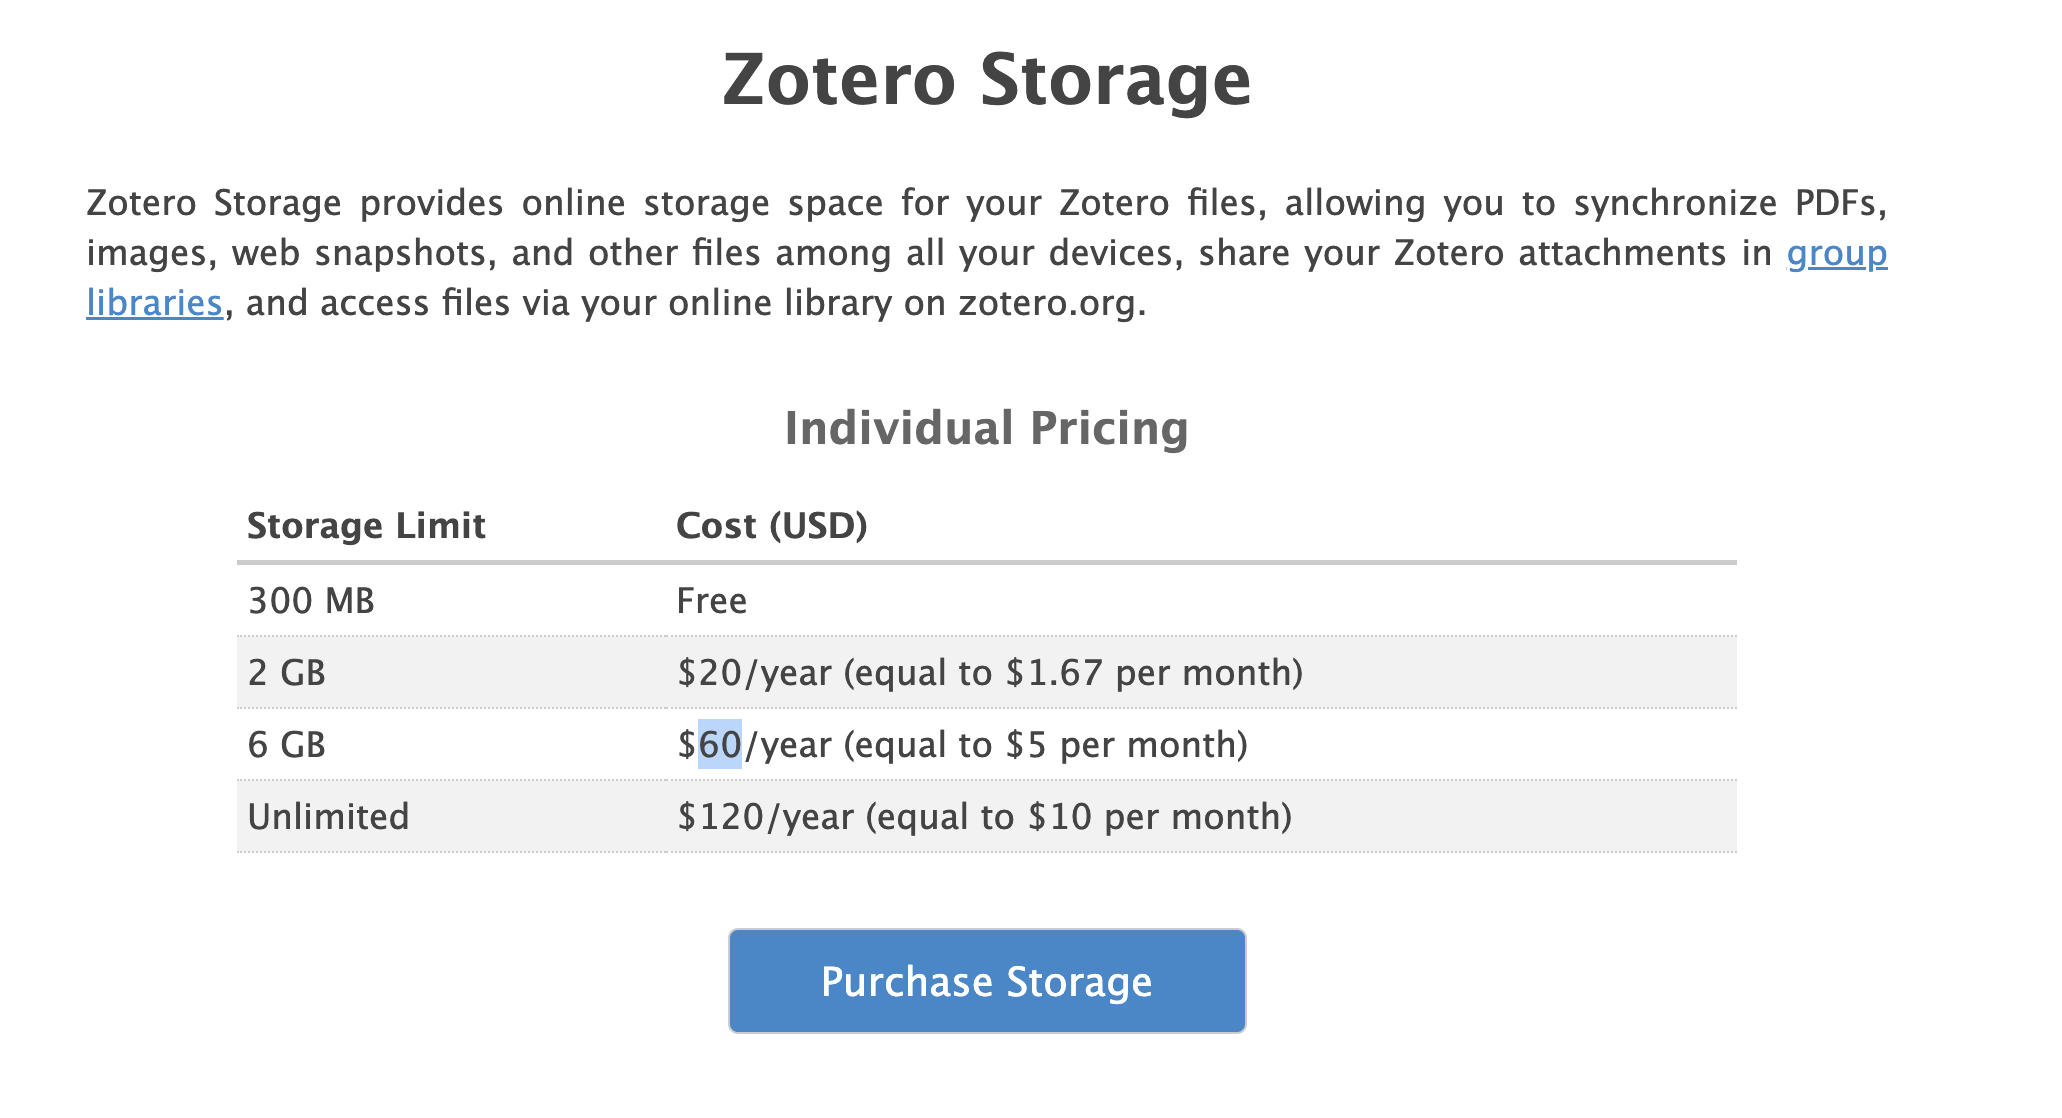
Since I already had a server up and running, I chose WebDAV. If you have to pay for a new VPS solely for this purpose, it’s better to first compare the costs—including server fees, updates, and backup time—with Zotero Storage.
Configuration
The request path is simple.
Zotero → HTTPS domain → Coolify reverse proxy → webdav:6065 → /data- Coolify handles the TLS certificate and external domain.
- The WebDAV container runs on internal port
6065. /datais stored on a volume that persists after redeployment.- The username and password are injected as Coolify environment variables.
1. Create a WebDAV Configuration File
You do not need to copy the entire example configuration. The minimum configuration required for Zotero is as follows:
address: 0.0.0.0
port: 6065
tls: false
behindProxy: true
directory: /data
permissions: CRUD

users:
  - username: "{env}ENV_USERNAME"
    password: "{env}ENV_PASSWORD"
The reason tls: false is set is because Coolify handles TLS termination. If you expose the container directly to the internet via a port, you should not use this configuration as-is. Since Zotero login credentials are transmitted via HTTP Basic authentication, external access must use HTTPS.
No CORS settings have been included. Since the Zotero desktop and mobile apps are not web apps that fetch from different origins in a browser, a CORS allowlist is not required for this configuration.
2. Preparing a Container with a Fixed Version
Create a Dockerfile application in Coolify and enter the following two lines:
FROM ghcr.io/hacdias/webdav:v5.15.0
ENTRYPOINT ["webdav", "-c", "/config.yml"]
Instead of using latest, I specified a fixed version that I verified. This prevents the system from automatically pulling new images and causing unexpected behavior changes; for updates, I check the release notes and then change the tag.
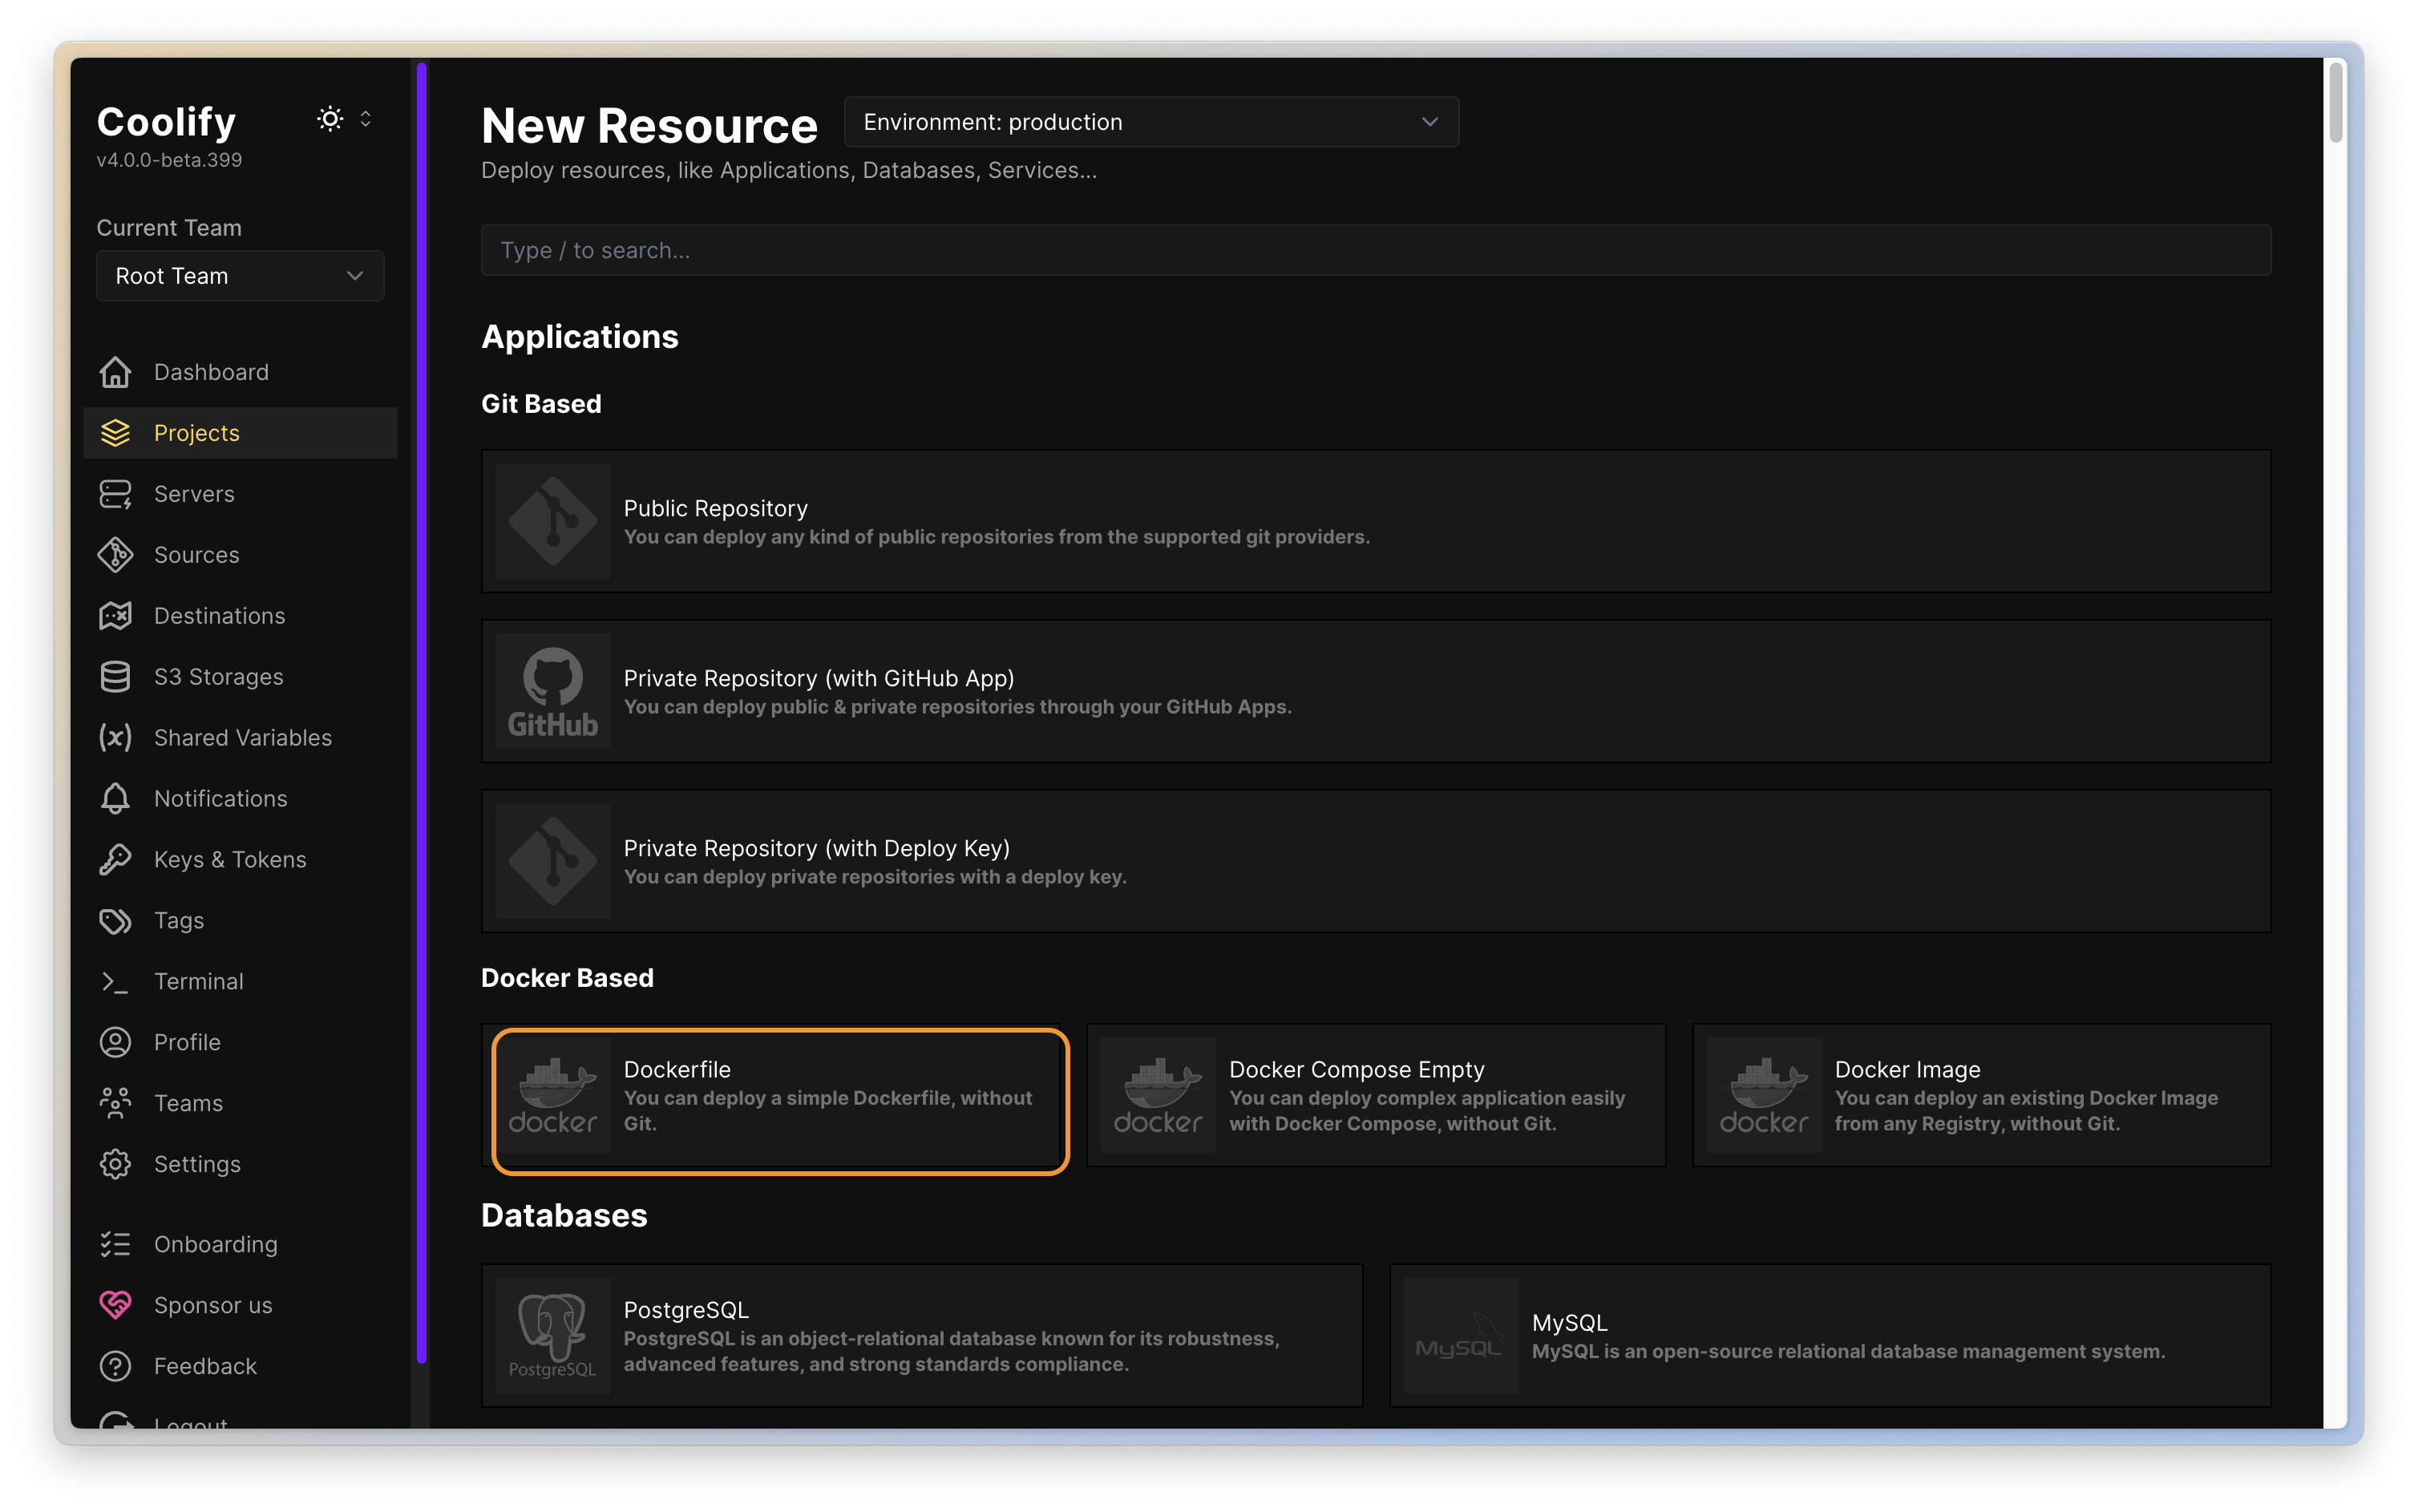
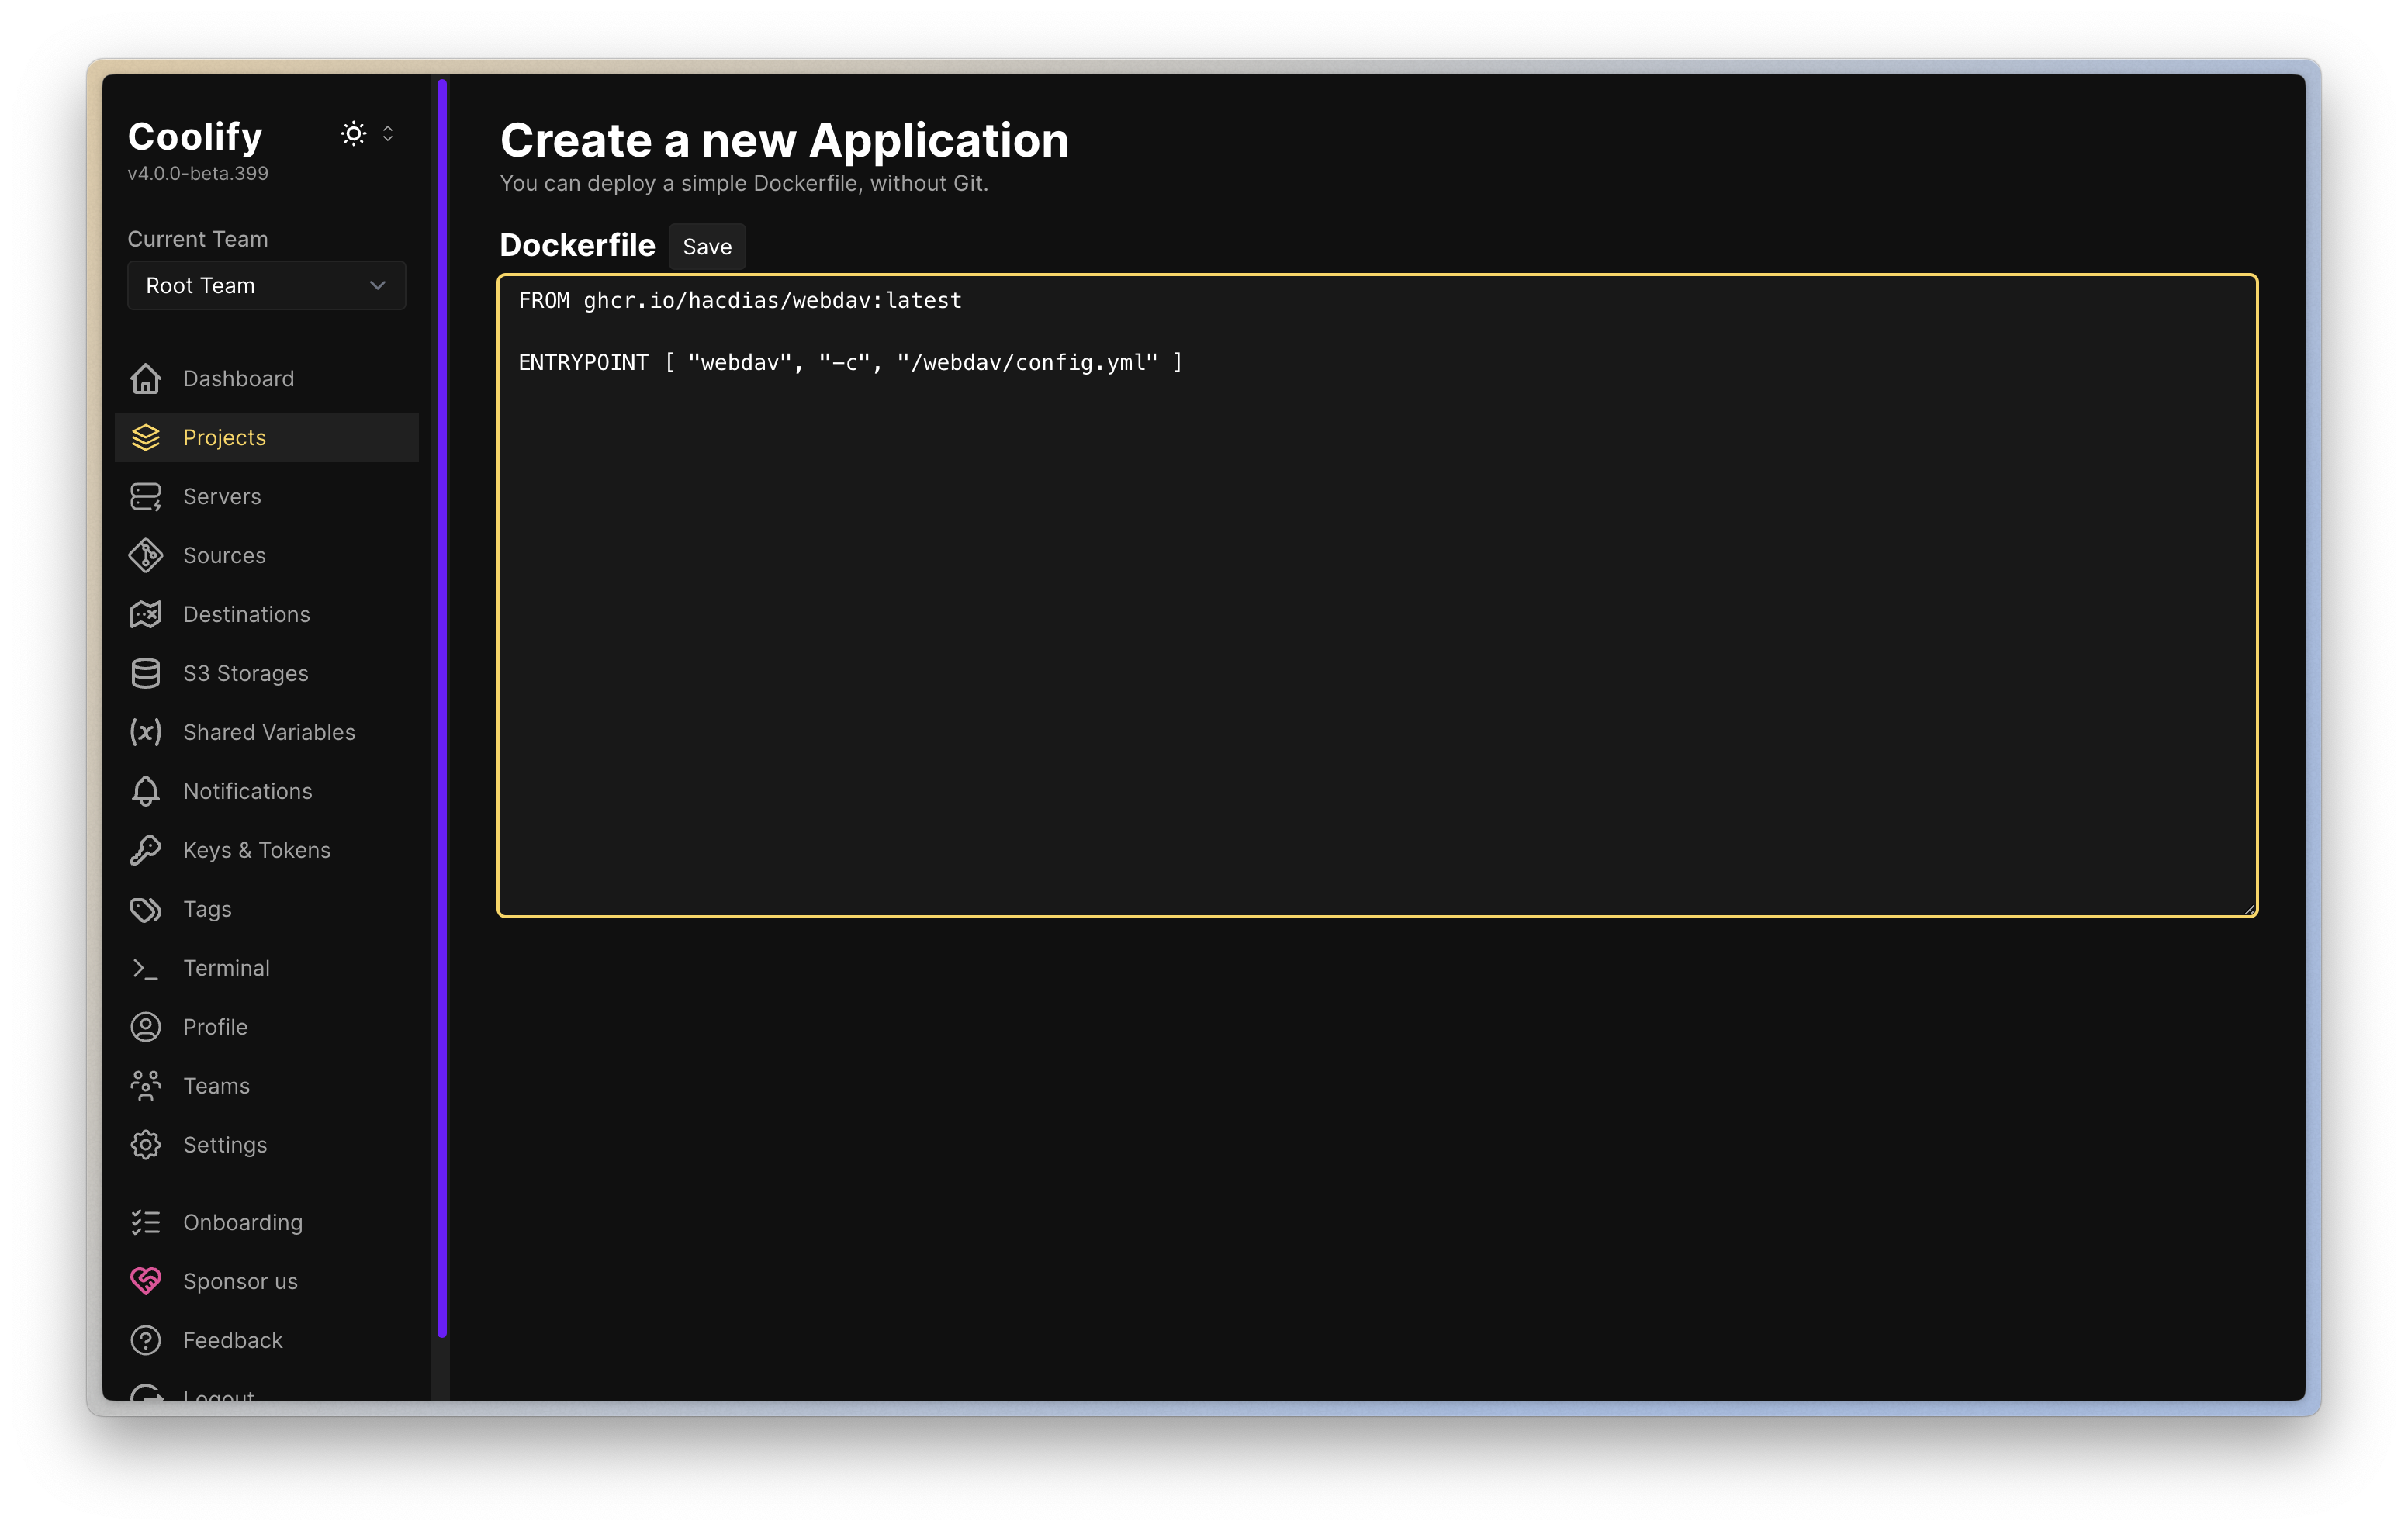
Set the application’s exposed port to 6065 and connect a domain. The WebDAV process must accept incoming connections from all interfaces (0.0.0.0) so that the Coolify proxy can access it.
3. Persist Settings and Data
Create two entries in Coolify’s Persistent Storage.
- Configuration file: Use File Mount to mount the YAML above to
/config.ymlas read-only. - Attachments: Use Volume Mount to mount to
/data
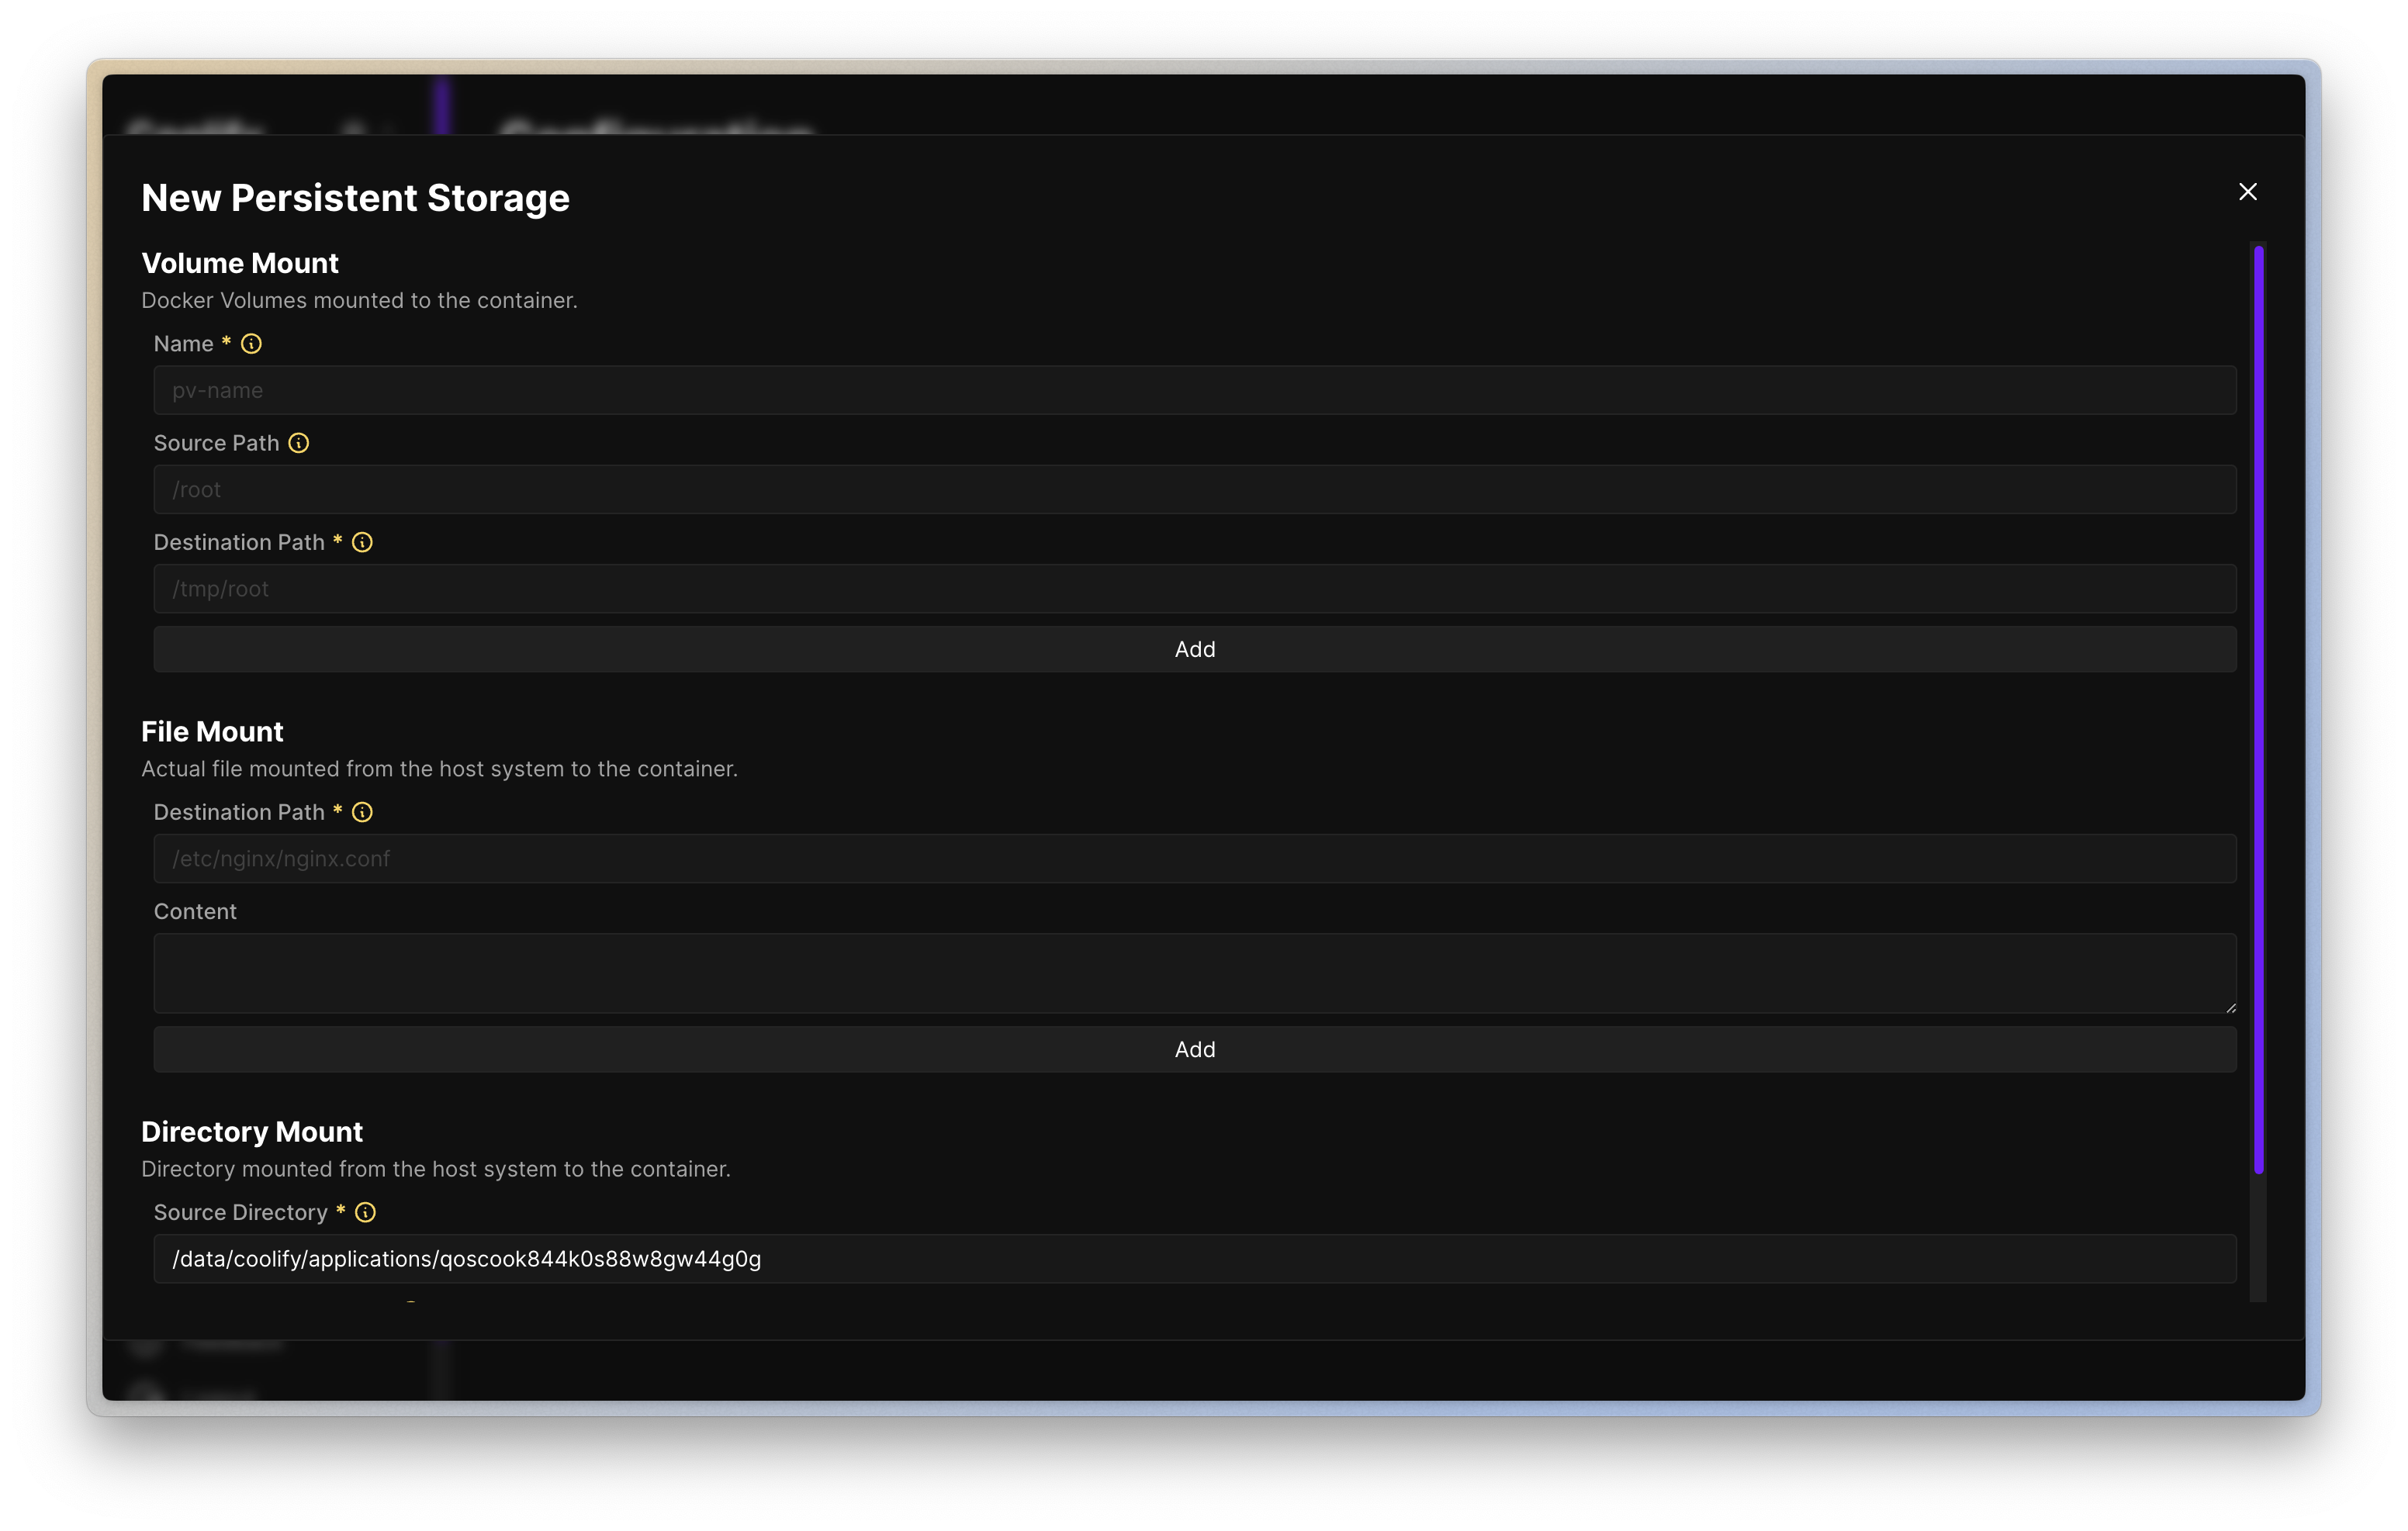
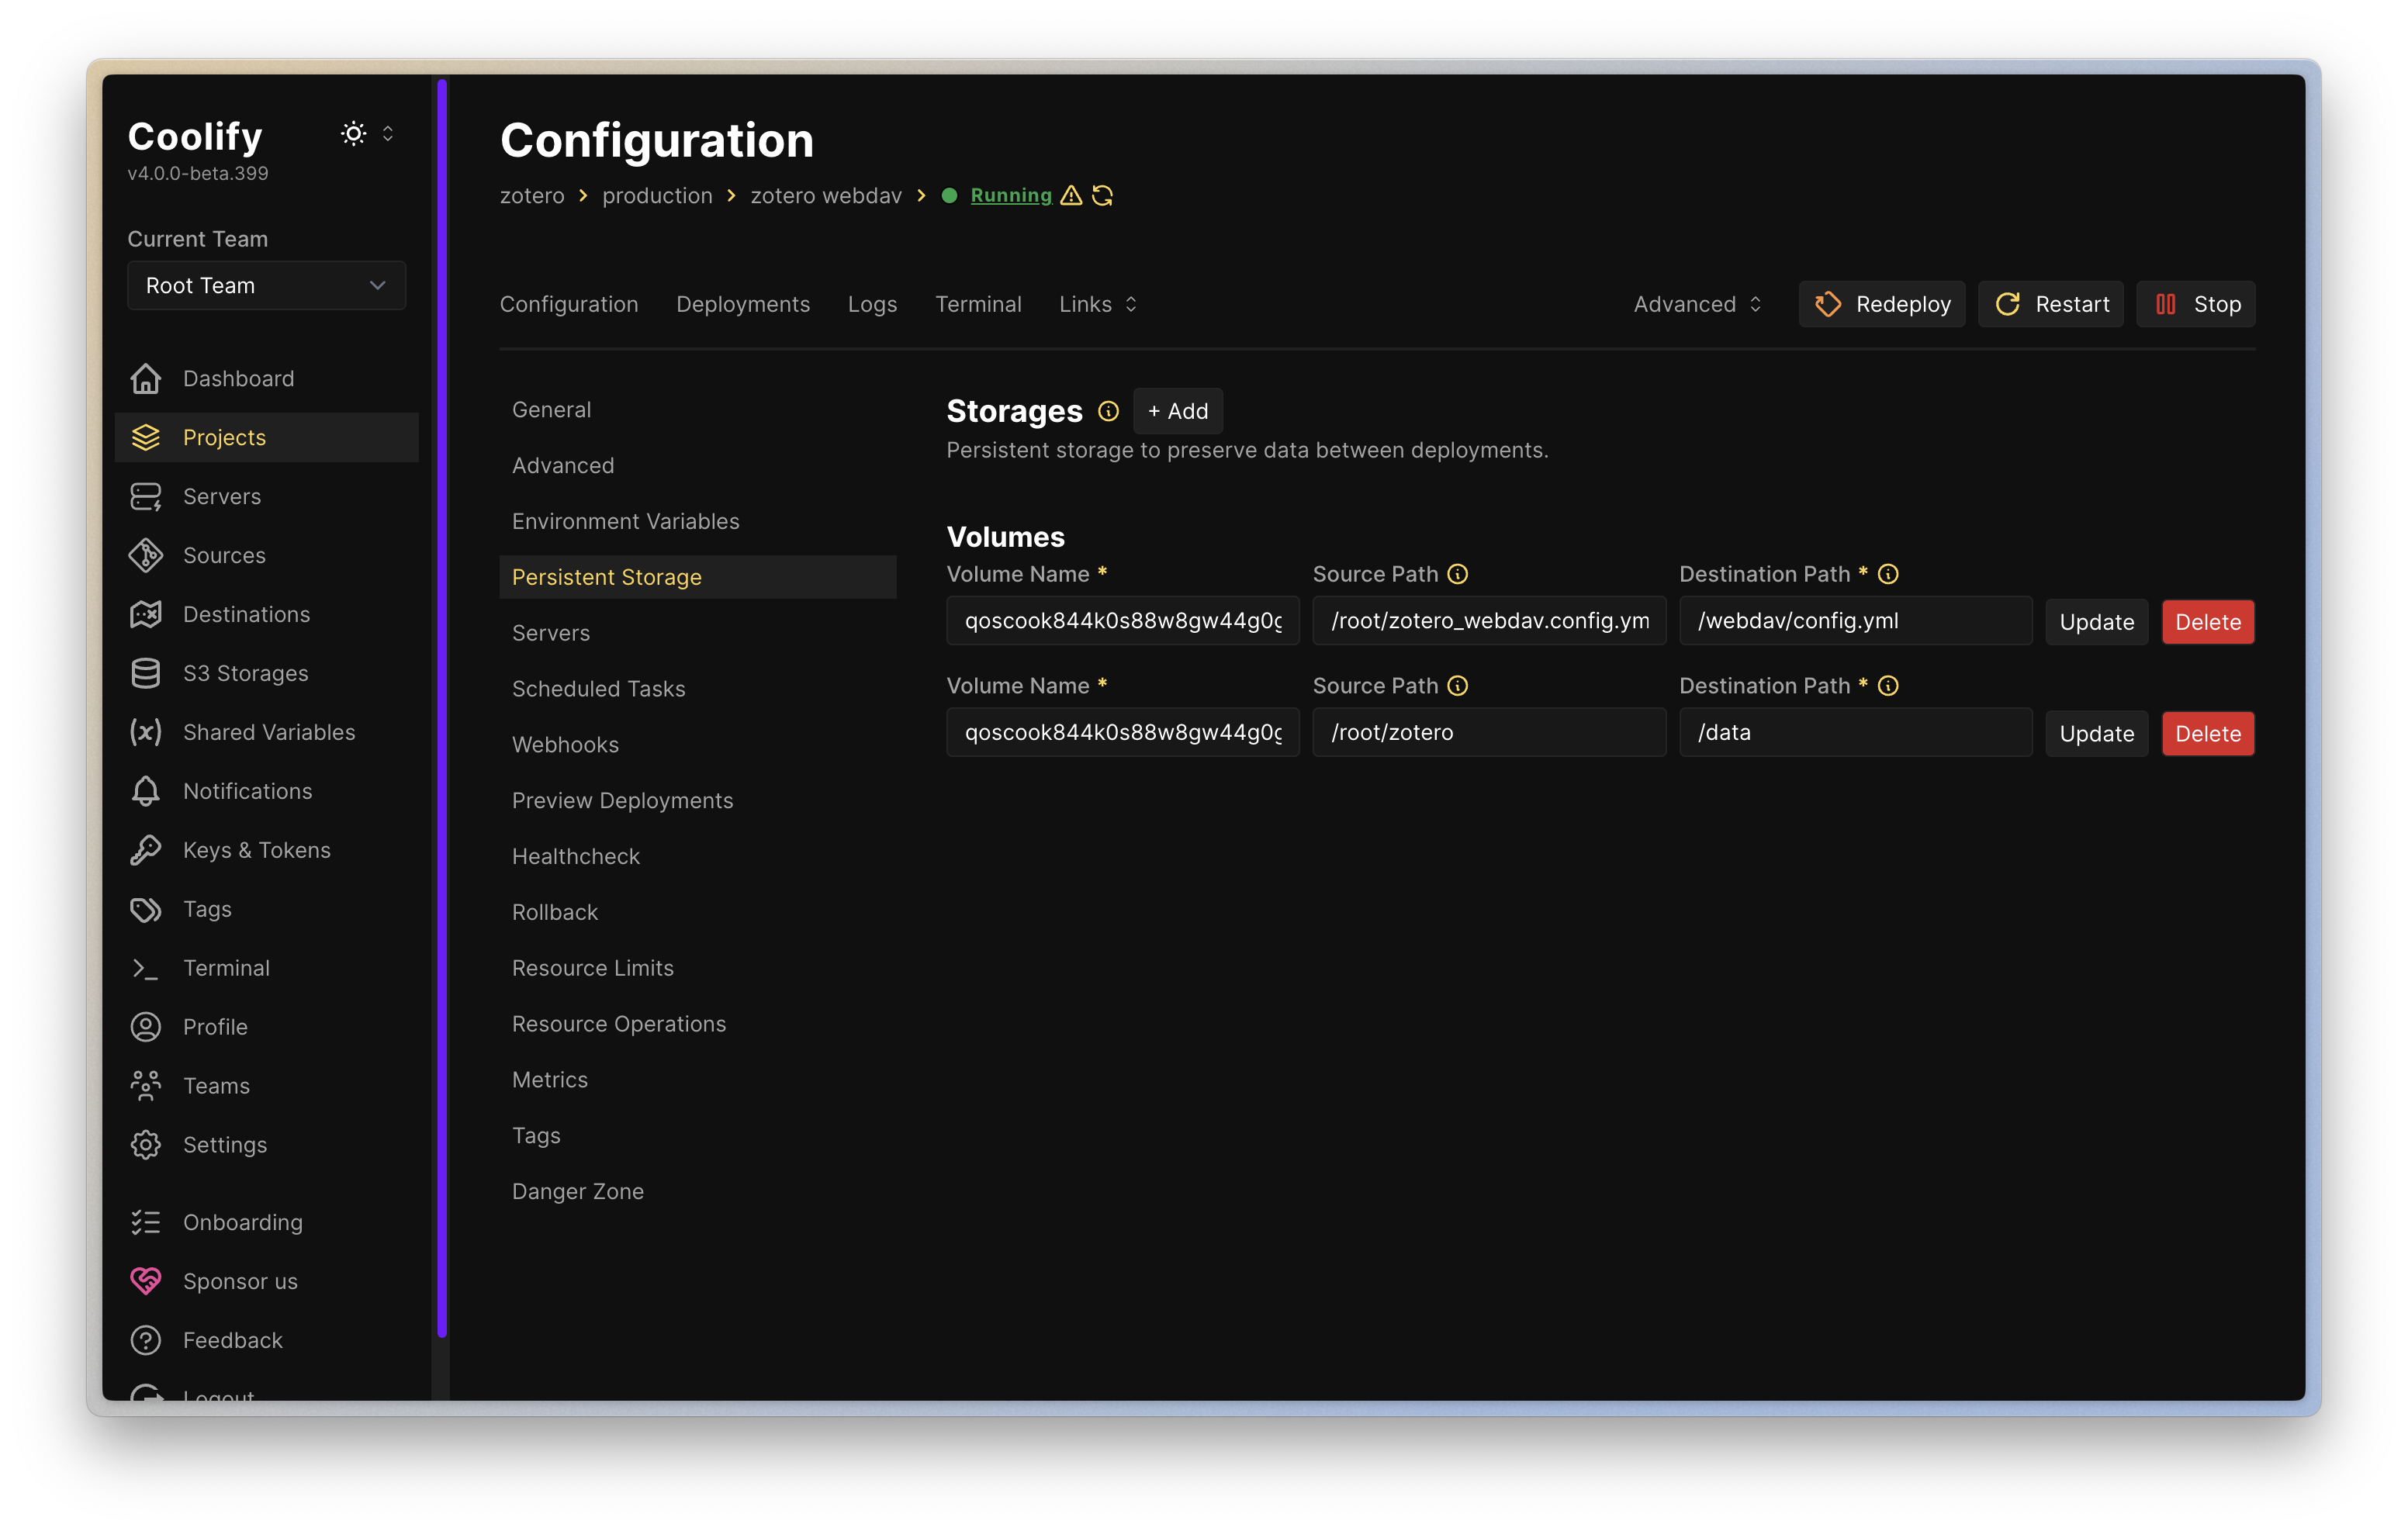
The container’s file system may change when redeploying. If you do not mount /data to a persistent volume, you may lose your attachments.
4. Configuring Credentials and the HTTPS Domain
Add the following two values to Environment Variables:
ENV_USERNAME: The username to enter in ZoteroENV_PASSWORD: A long, unique password
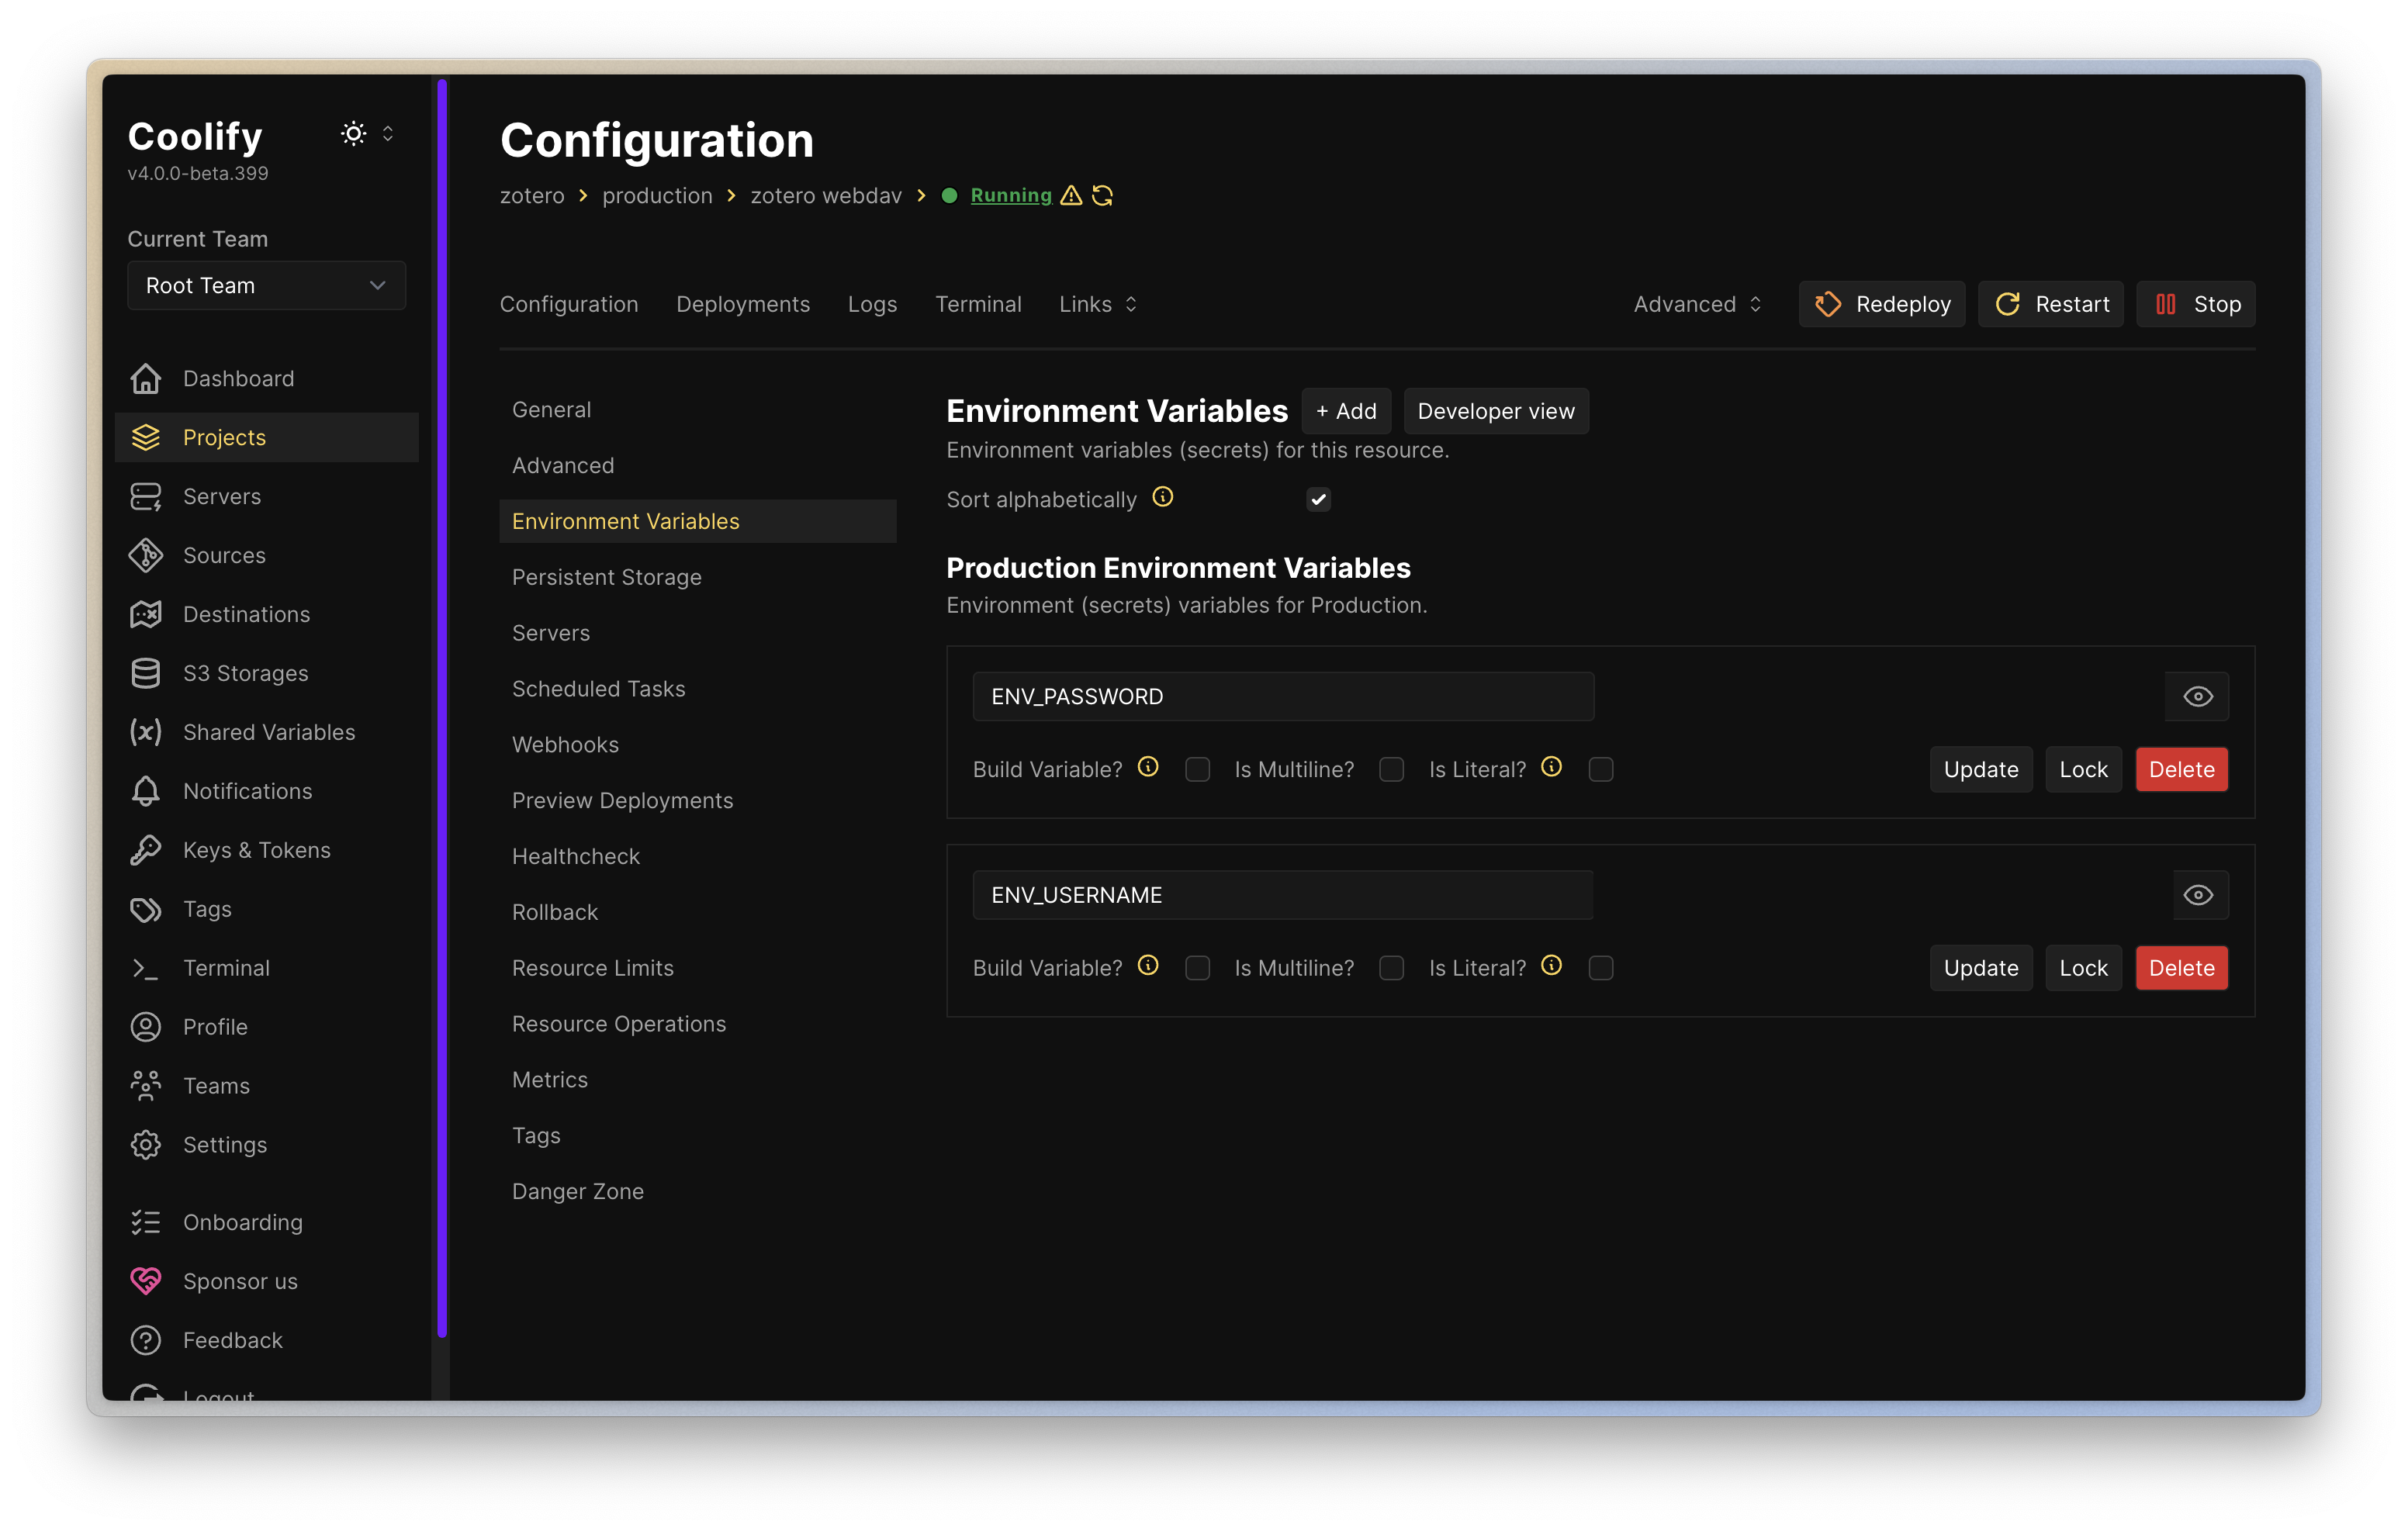
Do not write the password directly in the Dockerfile or in the repository. After deployment, verify that you can access the HTTPS domain issued by Coolify, and do not leave port 6065 open to the outside.
5. Connecting to WebDAV in Zotero
Go to Settings → Synchronization → File Synchronization in Zotero.
- Change the “My Library Attachments Synchronization Tool” to WebDAV.
- Select
httpsas the protocol. - Enter only the domain in the URL field. Zotero will automatically append
/zoteroto the end. - Enter the values for
ENV_USERNAMEandENV_PASSWORD. - Click Server Verification to confirm that the connection is successful.
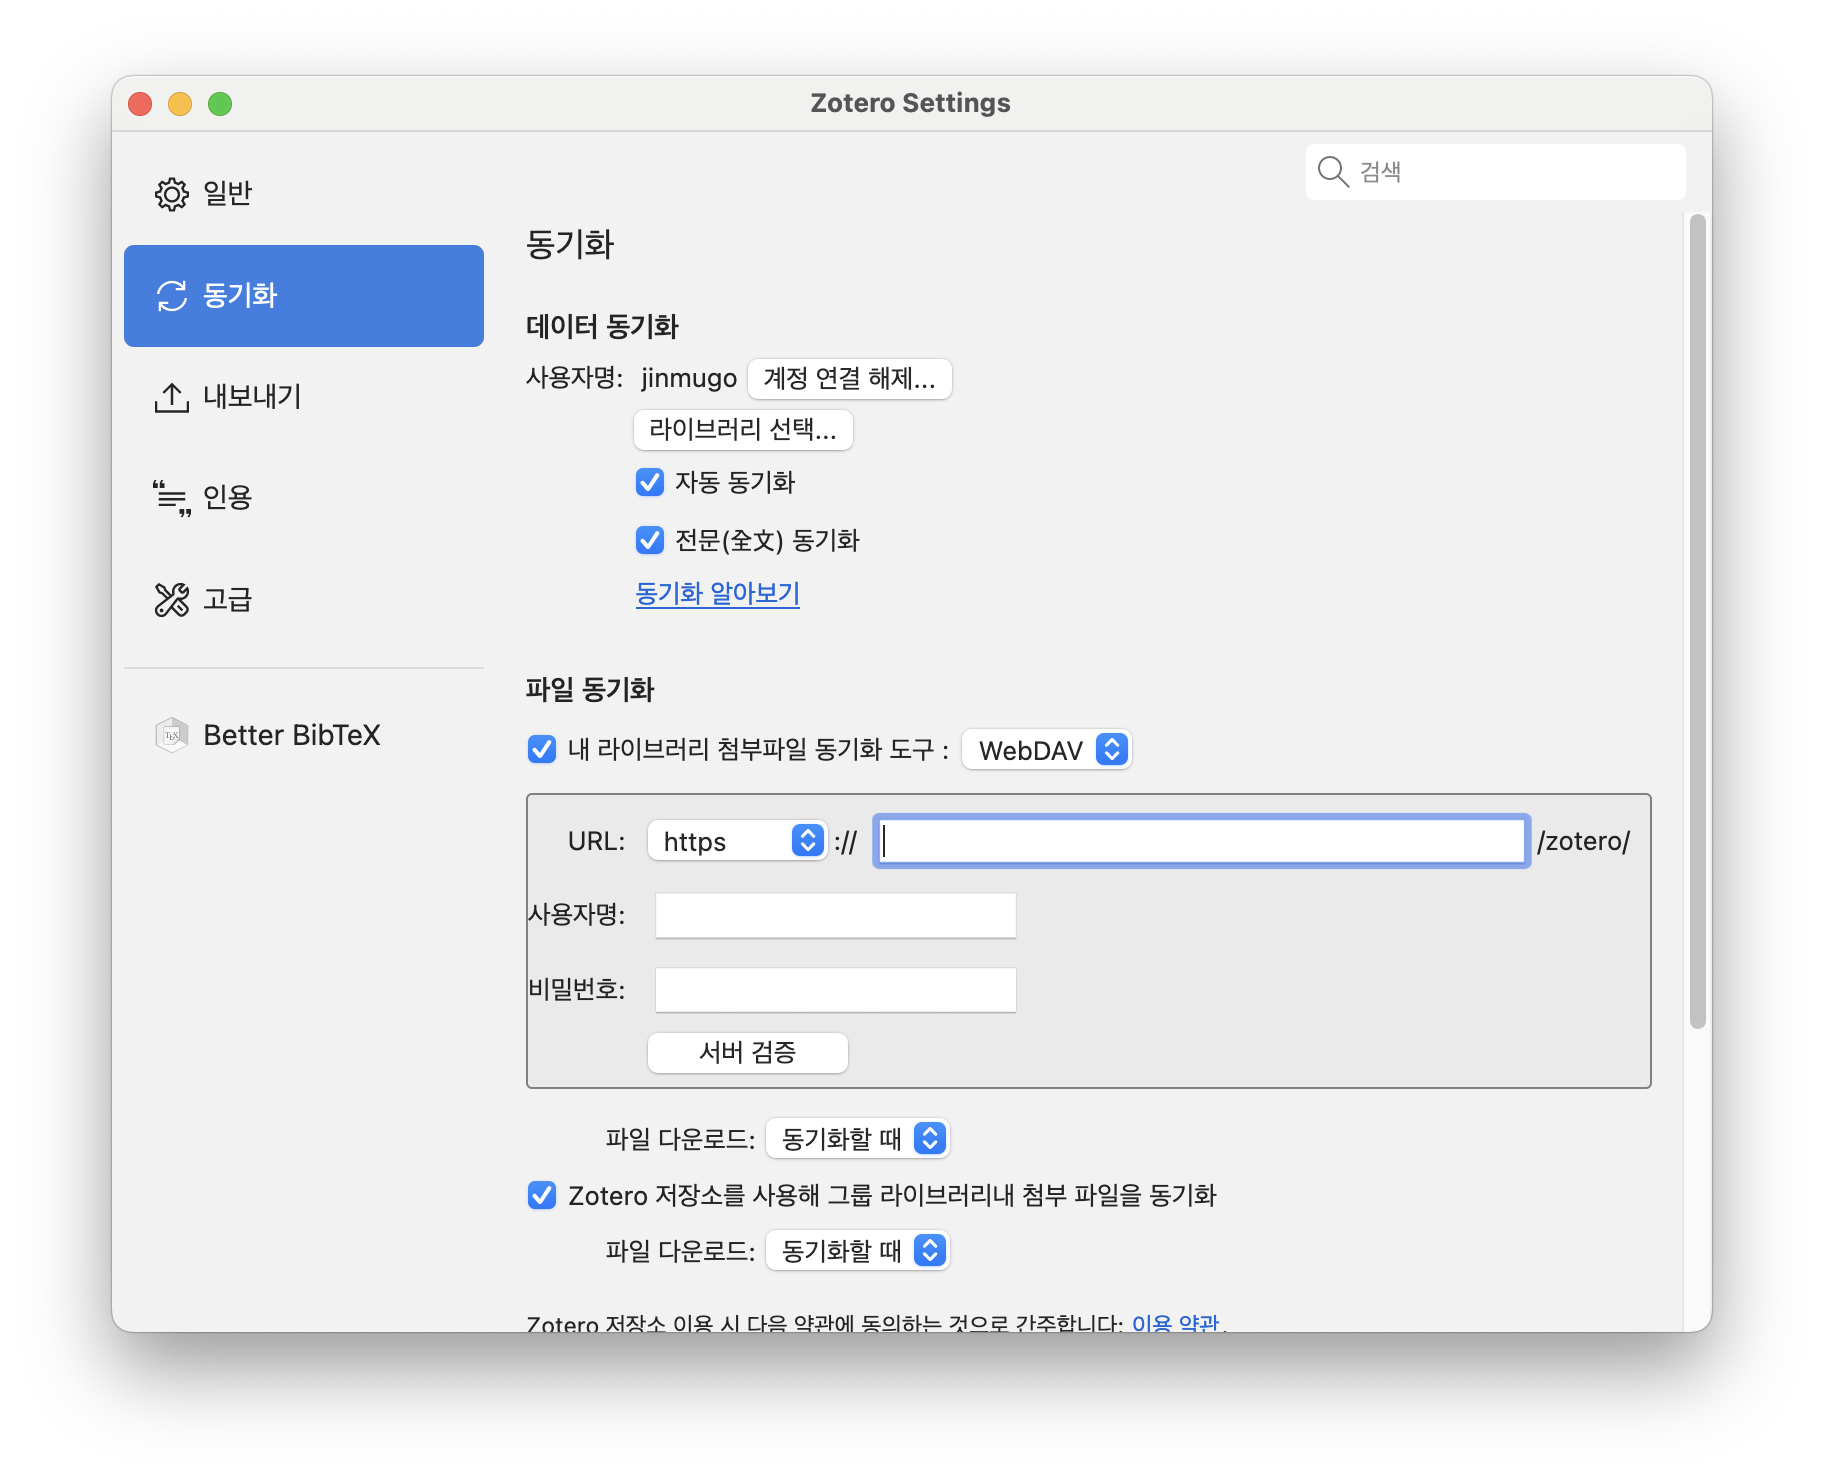
If the validation is successful, click the Sync button and try uploading a small PDF file to start. You must log in to the same Zotero account on another device and verify that the attachments open before the setup is complete.
Things to Check Before Going Live
- Backup: Coolify’s persistent volume is not a backup. Periodically copy the
/datadirectory to another server or object storage and test actual restoration. - Updates: Fix image tags, and manually upload new versions after backing them up.
- HTTPS: To protect credentials and files, use only HTTPS for external URLs.
- Storage: Monitor server disk usage and backup retention periods.
- Scope of Issues: Zotero does not support issues specific to WebDAV. If a problem arises, first check the server logs, storage permissions, certificates, and the
/zoteropath.
Self-hosting is quite satisfactory when utilizing existing server resources. However, “the container running” and “attachments being secure” are two separate issues. Only when you have permanent storage, off-site backups, and restoration testing in place can it truly be called an alternative to Zotero Storage.